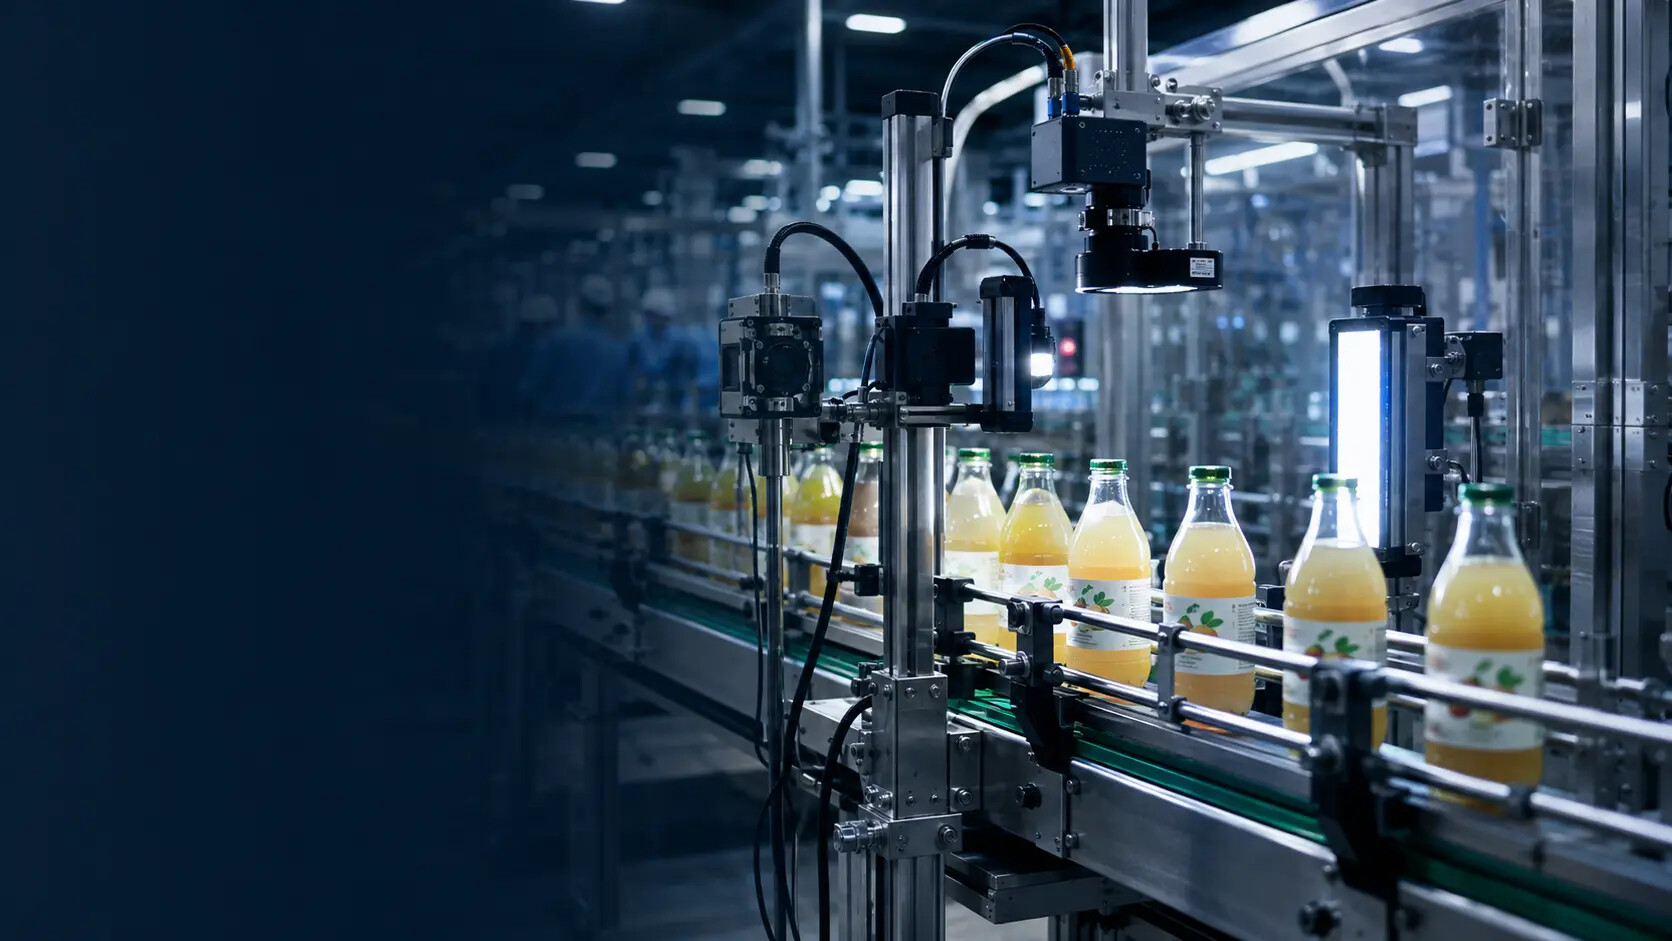
Edge contrast
Expose a repeatable label boundary, print feature or registration mark.
Create a repeatable image of clear film, glossy varnish and low-contrast label edges—then inspect presence, position, artwork and visible defects.
Often yes, but the inspection must create contrast that does not naturally exist. Clear film transmits the colour and texture beneath it, while glass, PET, liquid, varnish and curved surfaces produce reflections that change with angle. The solution is proved with filled production samples and realistic variation before camera, lens and lighting choices are finalised.
Software cannot recover information that the camera never captures. Lighting geometry, viewing angle, polarisation and product presentation are selected around the actual label and container.
Expose a repeatable label boundary, print feature or registration mark.
Reduce or use glare deliberately so normal variation does not appear as a defect.
Test the real liquid, colour and fill state because they change the image.
Control bottle distance, rotation, vibration and pitch at the inspection point.
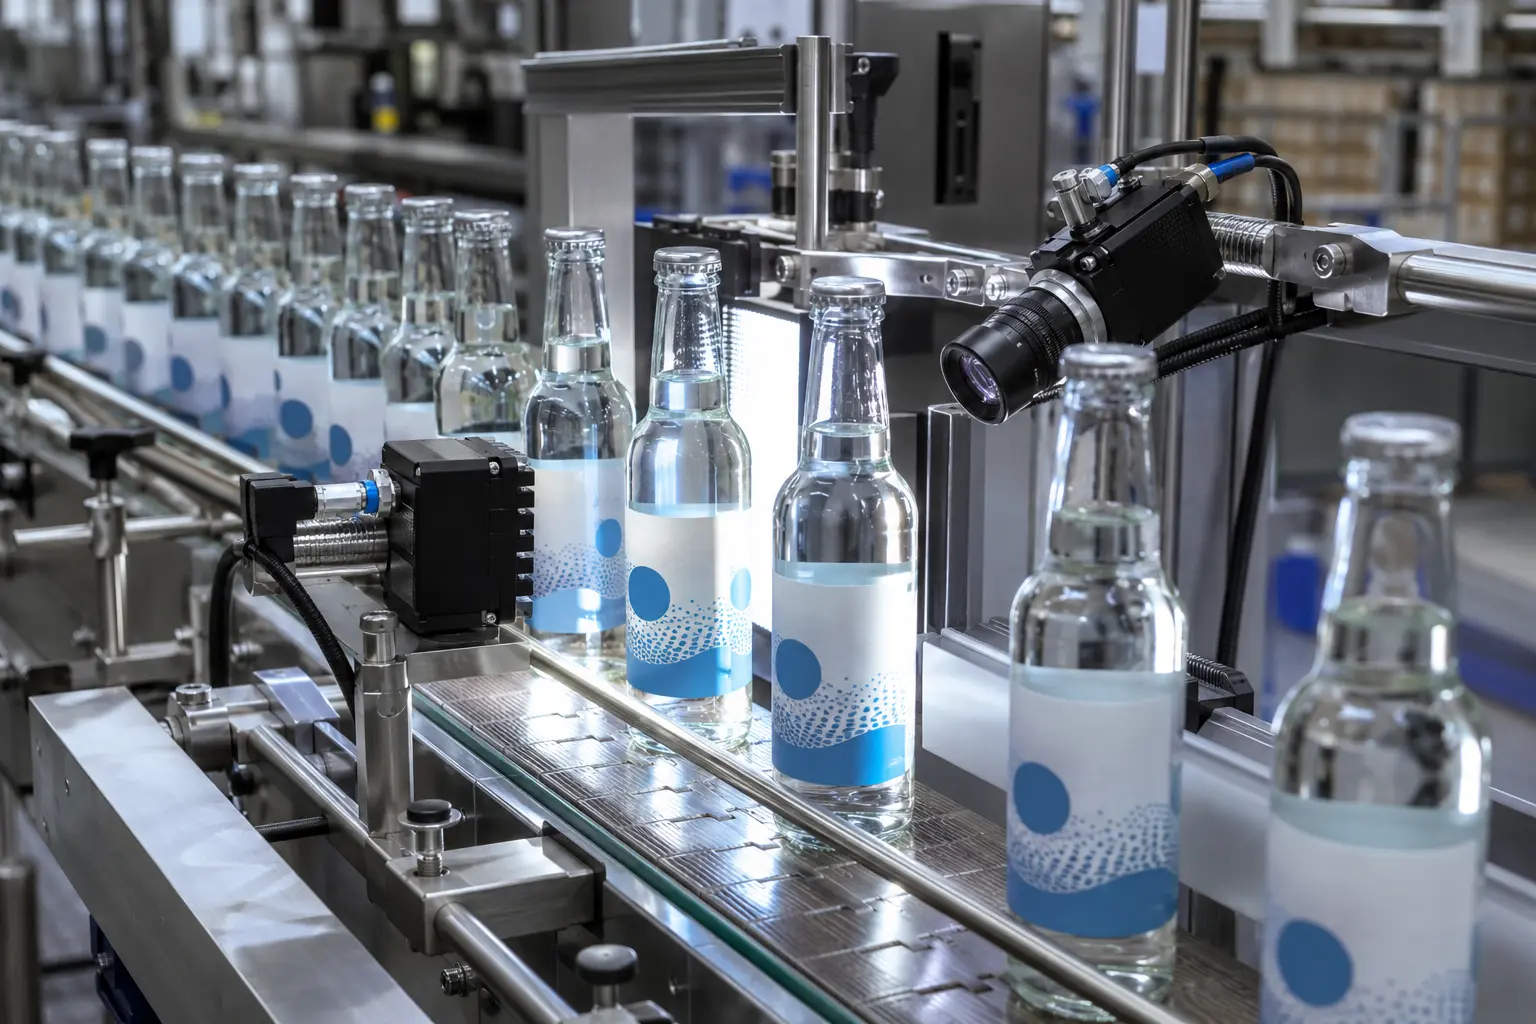
A clear label can carry reliable printed features even when its unprinted edge is difficult to see.
A successful trial should accept approved variation and still detect the defined fault. Include every combination that changes transparency, reflection or contrast.
Do not rely on an empty clear bottle if production is filled, capped, wet or moving.
Glass and PET colours, mould variation, diameters, tapers and filled appearance.
Clear film, matte and gloss varnish, metallic print, white ink and adhesive variation.
Missing, low, high, skewed, lifted, folded, bubbled and wrong-label examples.
Maximum speed, vibration, spacing, rotation, cleaning state and ambient-light changes.
Some applications can use a suitable clear-label sensor for presence. A camera-based system is normally considered when position, artwork, print, identity or several label faces must also be checked.
Yes when production is filled. Product colour, bubbles, condensation and the liquid-air boundary can materially change the image seen through a clear container.
They may be detectable when their appearance is repeatable and sufficiently different from approved variation. Defect samples are needed to prove the decision boundary.
Yes where suitable multi-view, controlled-rotation or specialised optical coverage can be proven for the bottle, label and required line speed.
Send filled samples, all label materials, approved variation and realistic defects so we can define the most useful feasibility trial.
A camera looking at a clear bottle may see the label on the opposite side as well as the label it is intended to inspect. That rear artwork can become misleading evidence when the near label is missing or shifted. A clear-label trial should therefore include the combinations that can confuse the actual view, not only a correctly labelled bottle and a completely bare one.
Prepare samples with only the front label, only the back label, both labels and each relevant missing-label fault. Use the production fill and normal bottle presentation. Ask which visible feature proves the presence and position of the intended label, and how reflections or see-through graphics affect that decision. The answer may change the lighting, viewing direction or inspection sequence.
Keep the trial result specific to the approved bottle, liquid and artwork combination. A new transparent region or printed background can alter what the camera sees even when label dimensions remain unchanged. This makes artwork updates a useful trigger for a focused inspection review. Send the individual label artworks and filled examples with the different label combinations when requesting a clear-label application trial.
Yes, on a transparent pack it may be visible through the bottle. The intended feature must be proven with relevant missing-label combinations.
Include front-only, back-only, both-label and missing-label examples on the actual filled container.
Plan inspection coverage for every label face Retain label-inspection acceptance evidence